
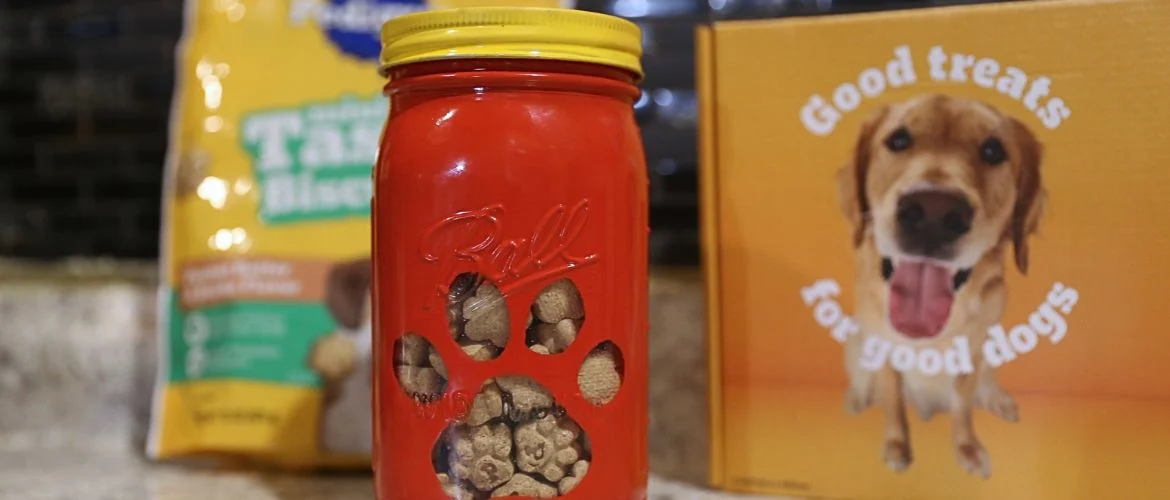
Want to make your very own awesome DIY dog treat jar using a mason jar? GREAT, we got you covered. You can download our free paw print template to make your own custom DIY Dog Treat Jar using a Mason Jar! This easy craft turns an ordinary mason jar into a adorable, personalized storage container for your furry friend’s favorite treats.
Huge thanks to Pedigree, who kindly gifted us the treats featured in this post. I wasn’t required to write this post, but my pups loved them and they are the inspiration behind this DIY Dog Treat Jar Using a Mason Jar. Too much awesomeness not to share. Also, this post does contain affiliate links. If you make a purchase using one of these links we may receive a small commission at no additional cost to you.
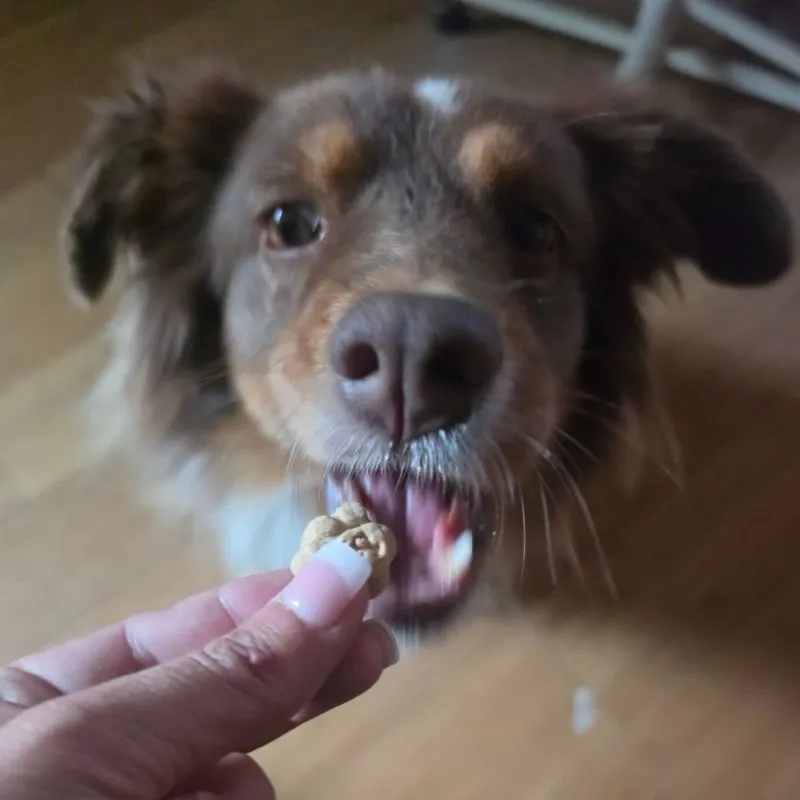
If you are an animal lover, I am sure you understand the love one can have for their four-legged furry BFF! I don’t know what I would do without mine, they are certainly more than just dogs. They are without a doubt members of our family. Needless to say, there is always a bag of treats on the counter, which if I am being honest looks a little blah. When Pedigree gifted me these treats who would have thought they would have also inspired me to get rid of the treat bag for an awesome DIY Dog Treat Jar using a Mason Jar!
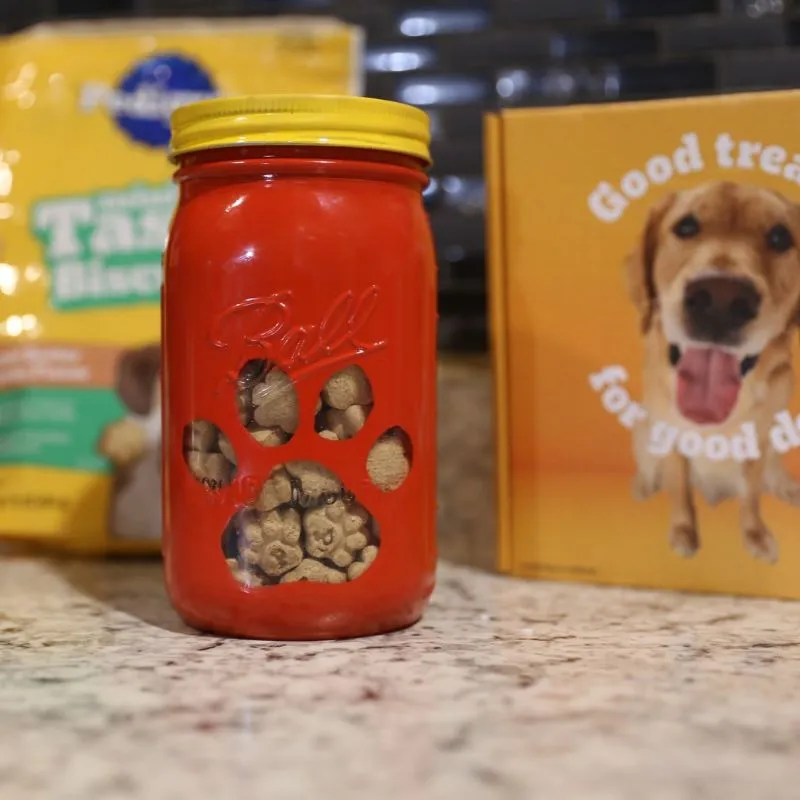
It’s a win-win, the pups still have their treats only now they are in their very own treat jar! Plus, if I am being honest the Pedigree mini Tasty Biscuits little paw treats inspired the paw print treat jar theme, I thought it would be fun to leave the paw print clear so I could see when we need more treats.
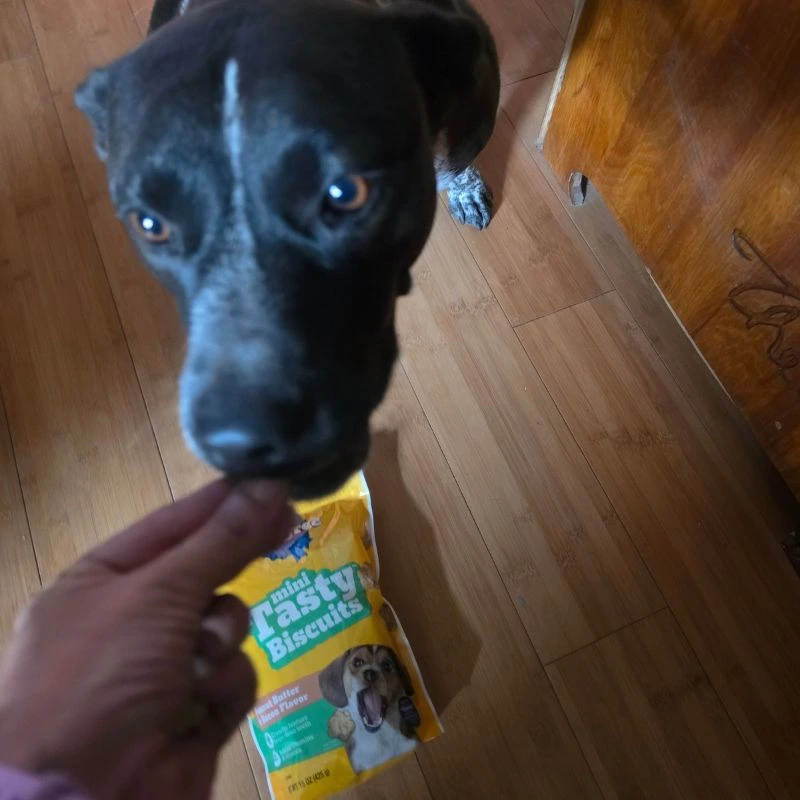
My pups verdict on the treats are TWO PAWS UP without a doubt. I mean seriously, they are bacon and peanut butter flavored, which is not to love. I just have not told them that the crunch texture helps clean their teeth, or that they are wholesome treats with 12 added vitamins and minerals, lol. I don’t want to push my luck, lol I know when my kids were little leaving out these minor details way typically a win hehe.
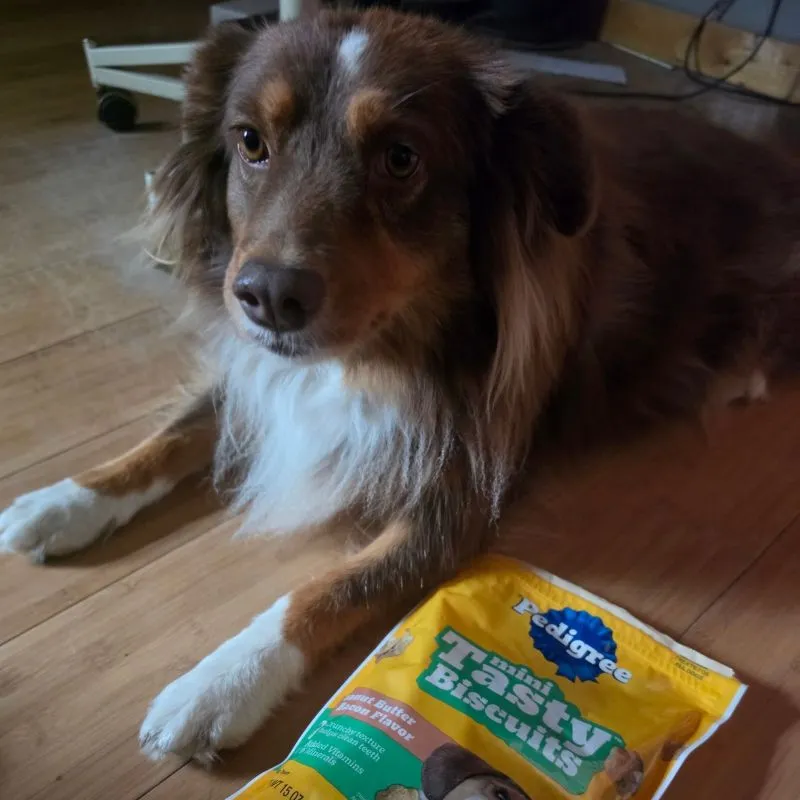
This is Bubbles, she is the picky eater and she approves! I’ll be honest, I’m not sure that she approves having the bag of treats next to her without being able to eat them. But she certainly likes them lol.
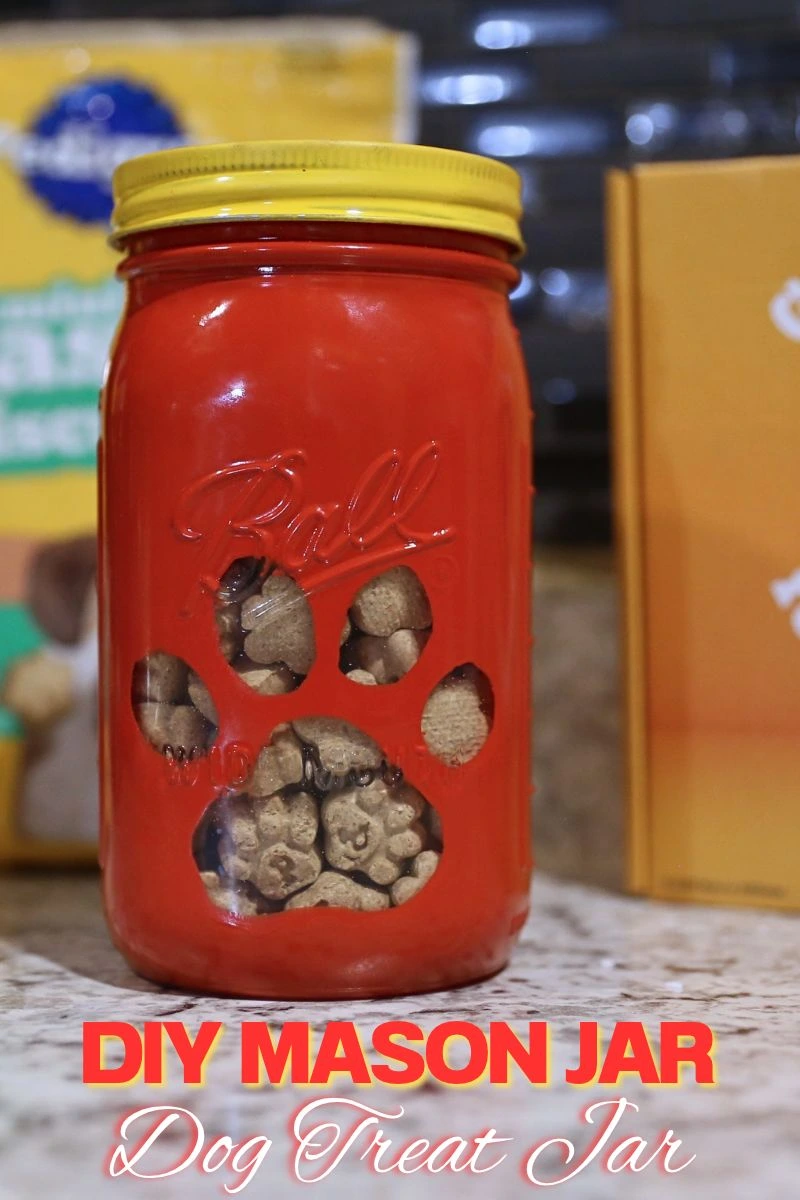
DIY Dog Treat Jar Using a Mason Jar
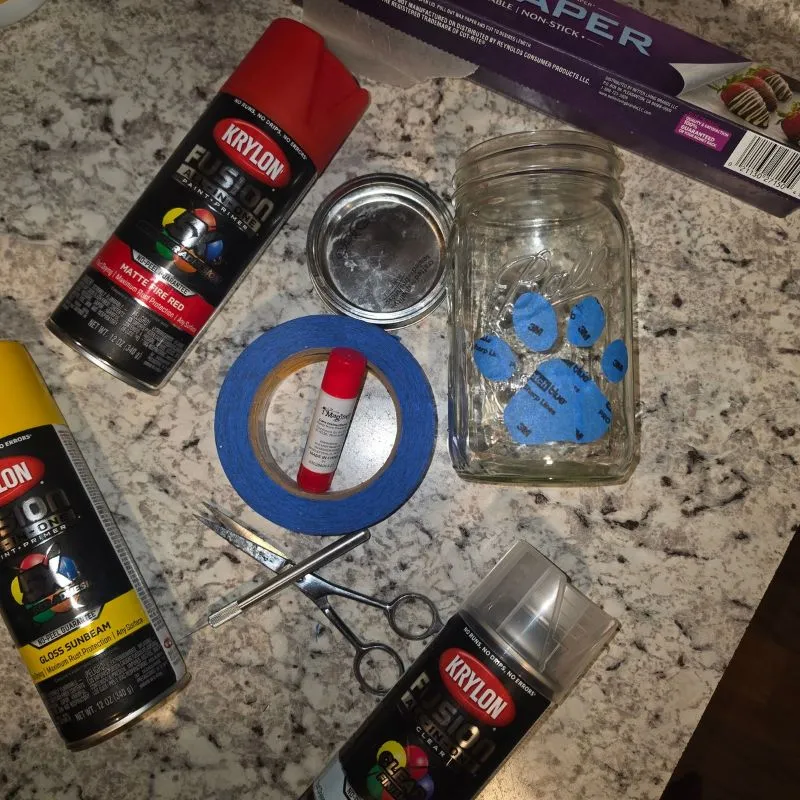
Items Needed:
32 ounce wide mouth mason jar with lid
Painters tape
Parchment paper
Glue stick
Scissors
Paw print image
Directions:
Print your image: Start out by printing out a paw print image or any image of your choice to put on the front of the mason jar. If you choose to go with a paw print, you can print out this image of a paw print. It should fit perfectly on a 32-ounce mason jar.
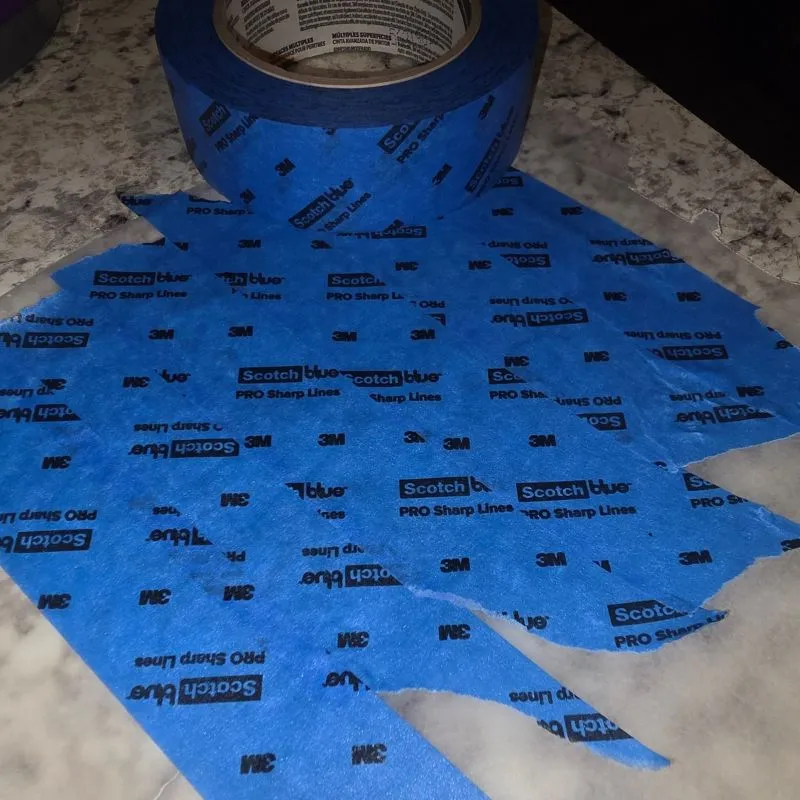
Create your tape template: Place painters tape on a piece of parchment paper—you’ll want it to be big enough to place your paw print image on. You are essentially creating a custom sticker.
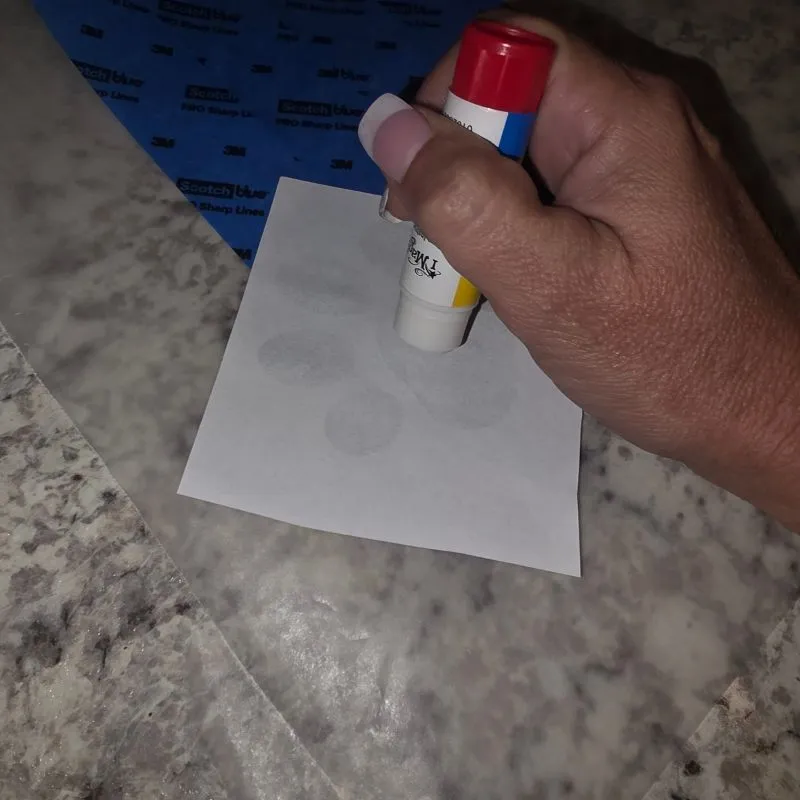
Secure the template: Place glue on the back of the printed image and stick it down onto the tape. Once you’re done, you’ll be able to peel off the parchment paper and have a ready-to-cut sticker.
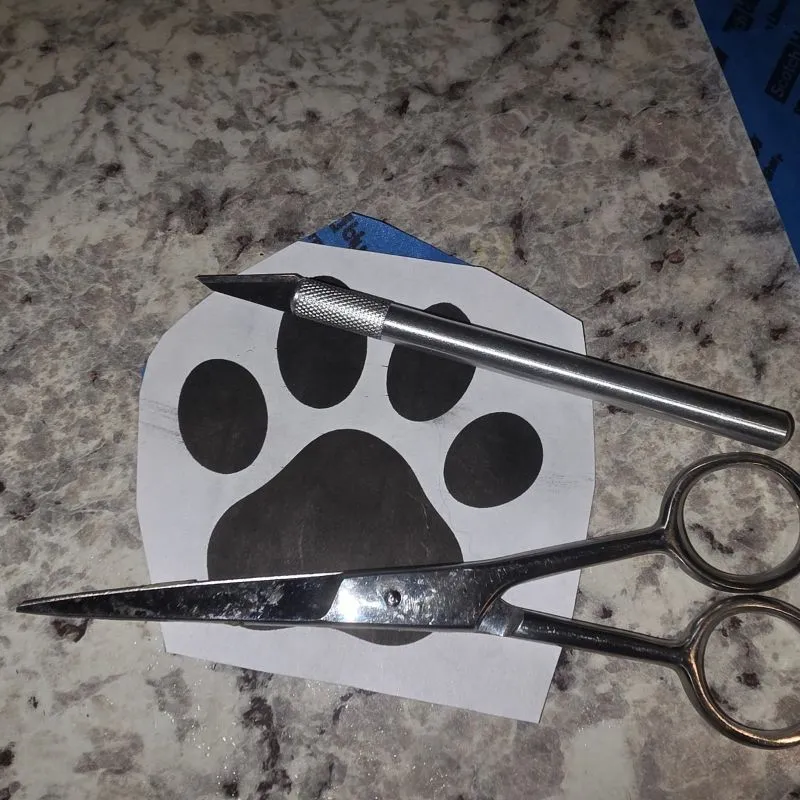
Cut out the shape: Using scissors and/or an X-ACTO knife, carefully cut out the image on the tape.
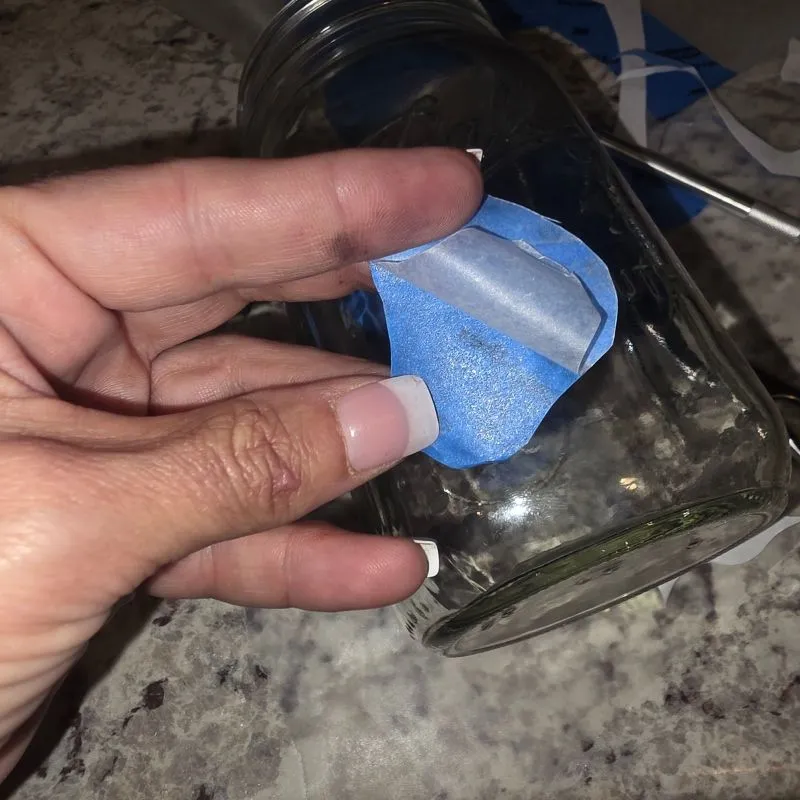
Apply to the jar: Peel the parchment paper off the back of your homemade sticker and place it right on the jar where you want your design to appear.
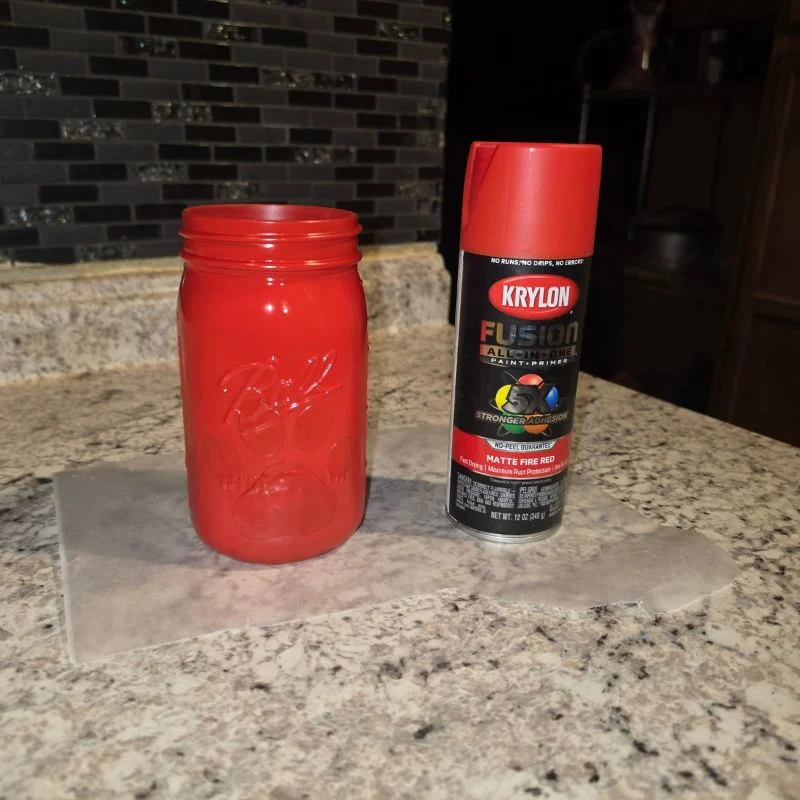
Spray paint: Spray paint the jar and lid, allow to dry completely, and repeat if you need another coat.
Peel off the tape stencil: Once the paint is completely dry to the touch, use the tip of your X-ACTO knife or your fingernail to carefully lift an edge of the painter’s tape. Slowly peel away each section of the paw print sticker to reveal the clear glass underneath. If the paint feels like it wants to lift with the tape, lightly score along the edge of the tape with the blade before peeling.
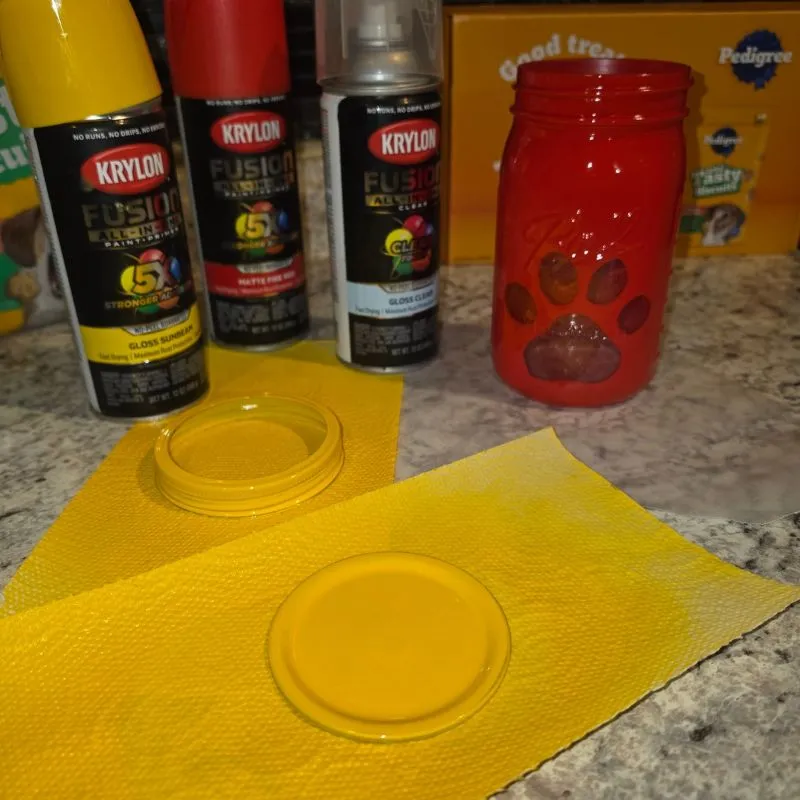
Add a clear coat: Spray over the mason jar and lid with a clear sealant, allow to dry completely, and repeat with a second clear coat. Let it dry completely before filling with treats!
DIY Dog Treat Jar Using a Mason Jar
Materials
- Mason jar with lid
- Spray paint
- Painters tape
- Parchment paper
- Glue stick
- Scissors
- X-ACTO knife
- Paw print image
- Pedigree mini Tasty Biscuits
Instructions
- Print your image: Start out by printing out a paw print image or any image of your choice to put on the front of the mason jar. if you choose to go with a paw print you can use our free printable should fit perfectly on the front of a 32 ounce mason jar.. Link is in the direction in above post.
- Create your tape template: Place painters tape on a piece of parchment paper—you’ll want it to be big enough to place your paw print image on. You are essentially creating a custom sticker.
- Secure the template: Place glue on the back of the printed image and stick it down onto the tape. Once you’re done, you’ll be able to peel off the parchment paper and have a ready-to-cut sticker.
- Cut out the shape: Using scissors and/or an X-ACTO knife, carefully cut out the image on the tape.
- Apply to the jar: Peel the parchment paper off the back of your homemade sticker and place it right on the jar where you want your design to appear.
- Spray paint: Spray paint the jar and lid, allow to dry completely, and repeat if you need another coat.
- Peel off the tape stencil: Once the paint is completely dry to the touch, use the tip of your X-ACTO knife or your fingernail to carefully lift an edge of the painter's tape. Slowly peel away each section of the paw print sticker to reveal the clear glass underneath. If the paint feels like it wants to lift with the tape, lightly score along the edge of the tape with the blade before peeling.
- Add a clear coat: Spray over the mason jar and lid with a clear sealant, allow to dry completely, and repeat with a second clear coat. Let it dry completely before filling with treats!
So what do you think? Will you be making your pups a DIY treat jar using a mason jar?
